In Absolver, Sloclap and Devolver Digital’s cerebral martial arts game, you play as a Prospect hoping to fight your way to the hallowed status of Absolver. The combat system is the game’s crown jewel, and every step you take and blow you land as you travel through the mysterious world of Adal can be challenging and rewarding in equal measure.
However, the game’s inherent opacity might prove to be an unnecessary hurdle. Let’s shed some light on some of its murkier systems and mechanics.
Combat
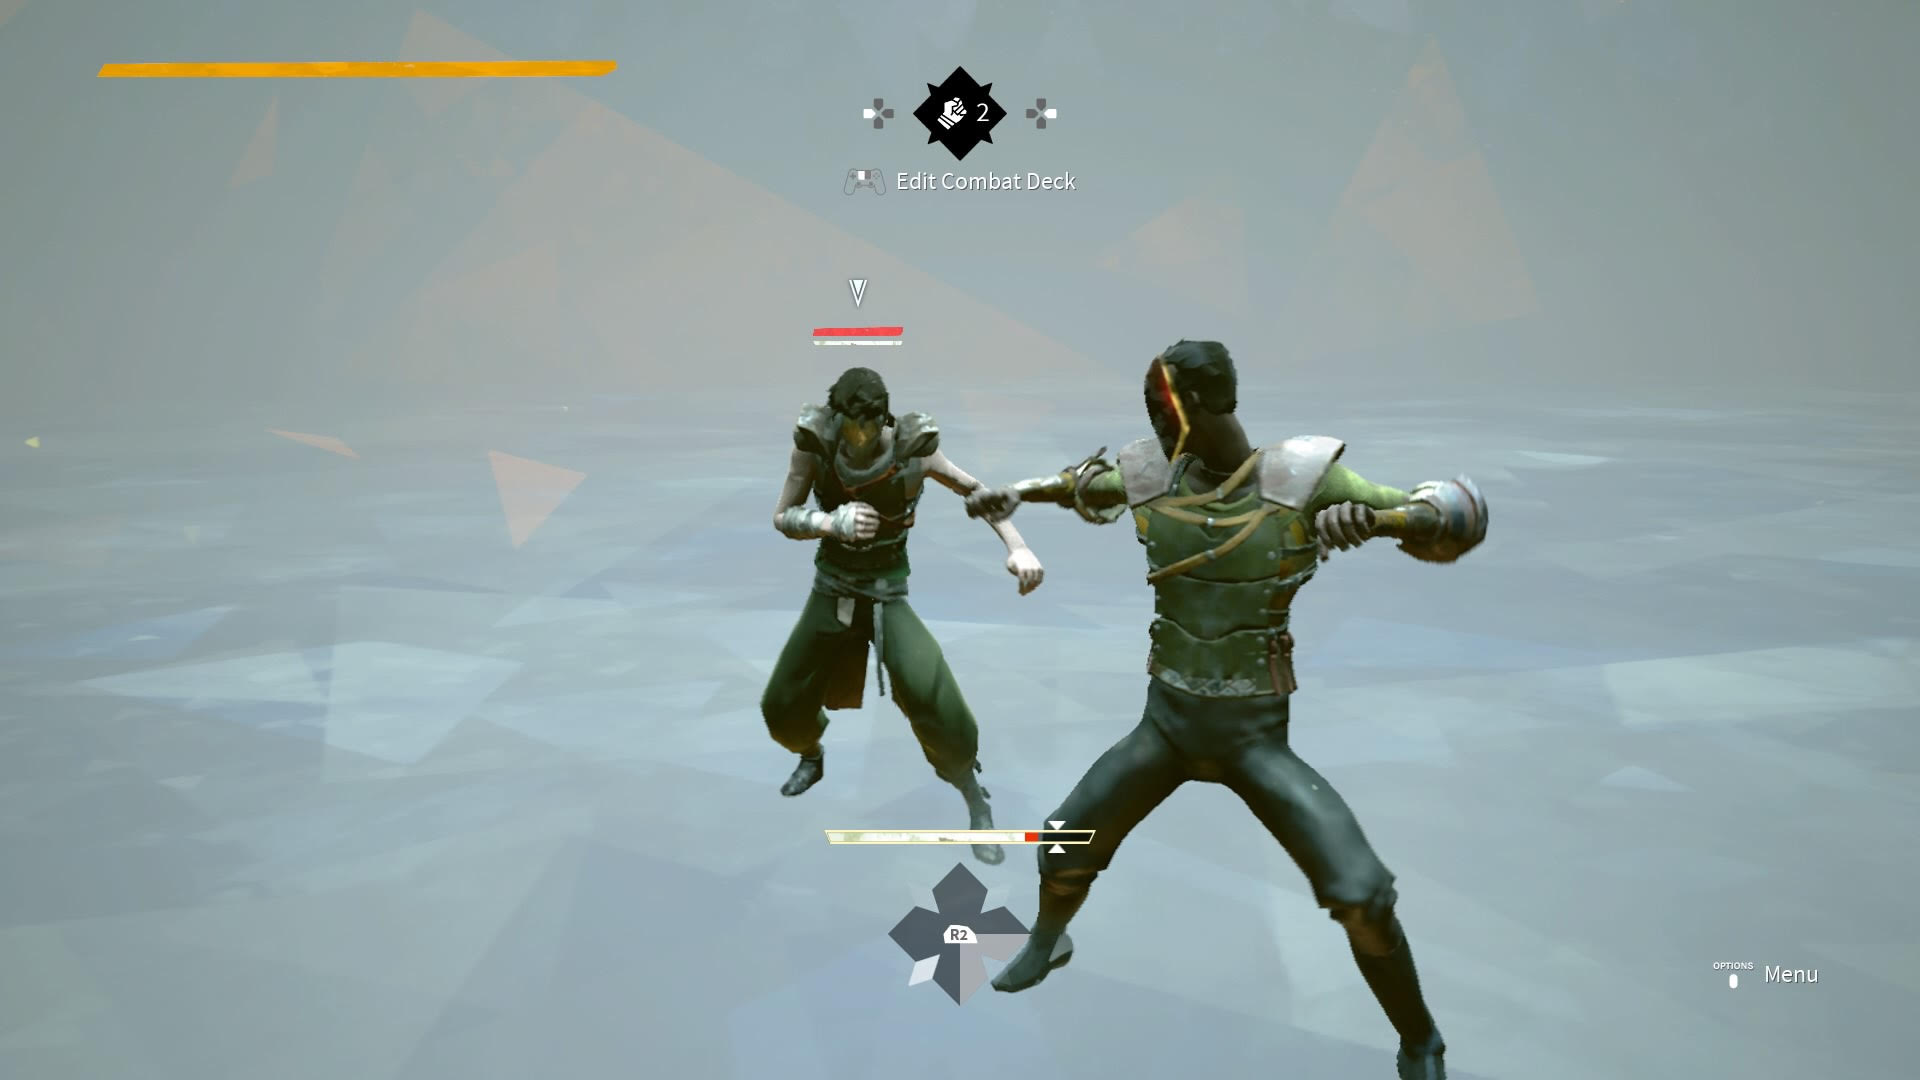
Absolver is basically a game that tasks you with wandering a strange world and kung fu-ing your way into legend. This should clue you in to the amount of fisticuffs you’ll be engaging in — here’s a breakdown of the basics.
Combat Decks and Moves
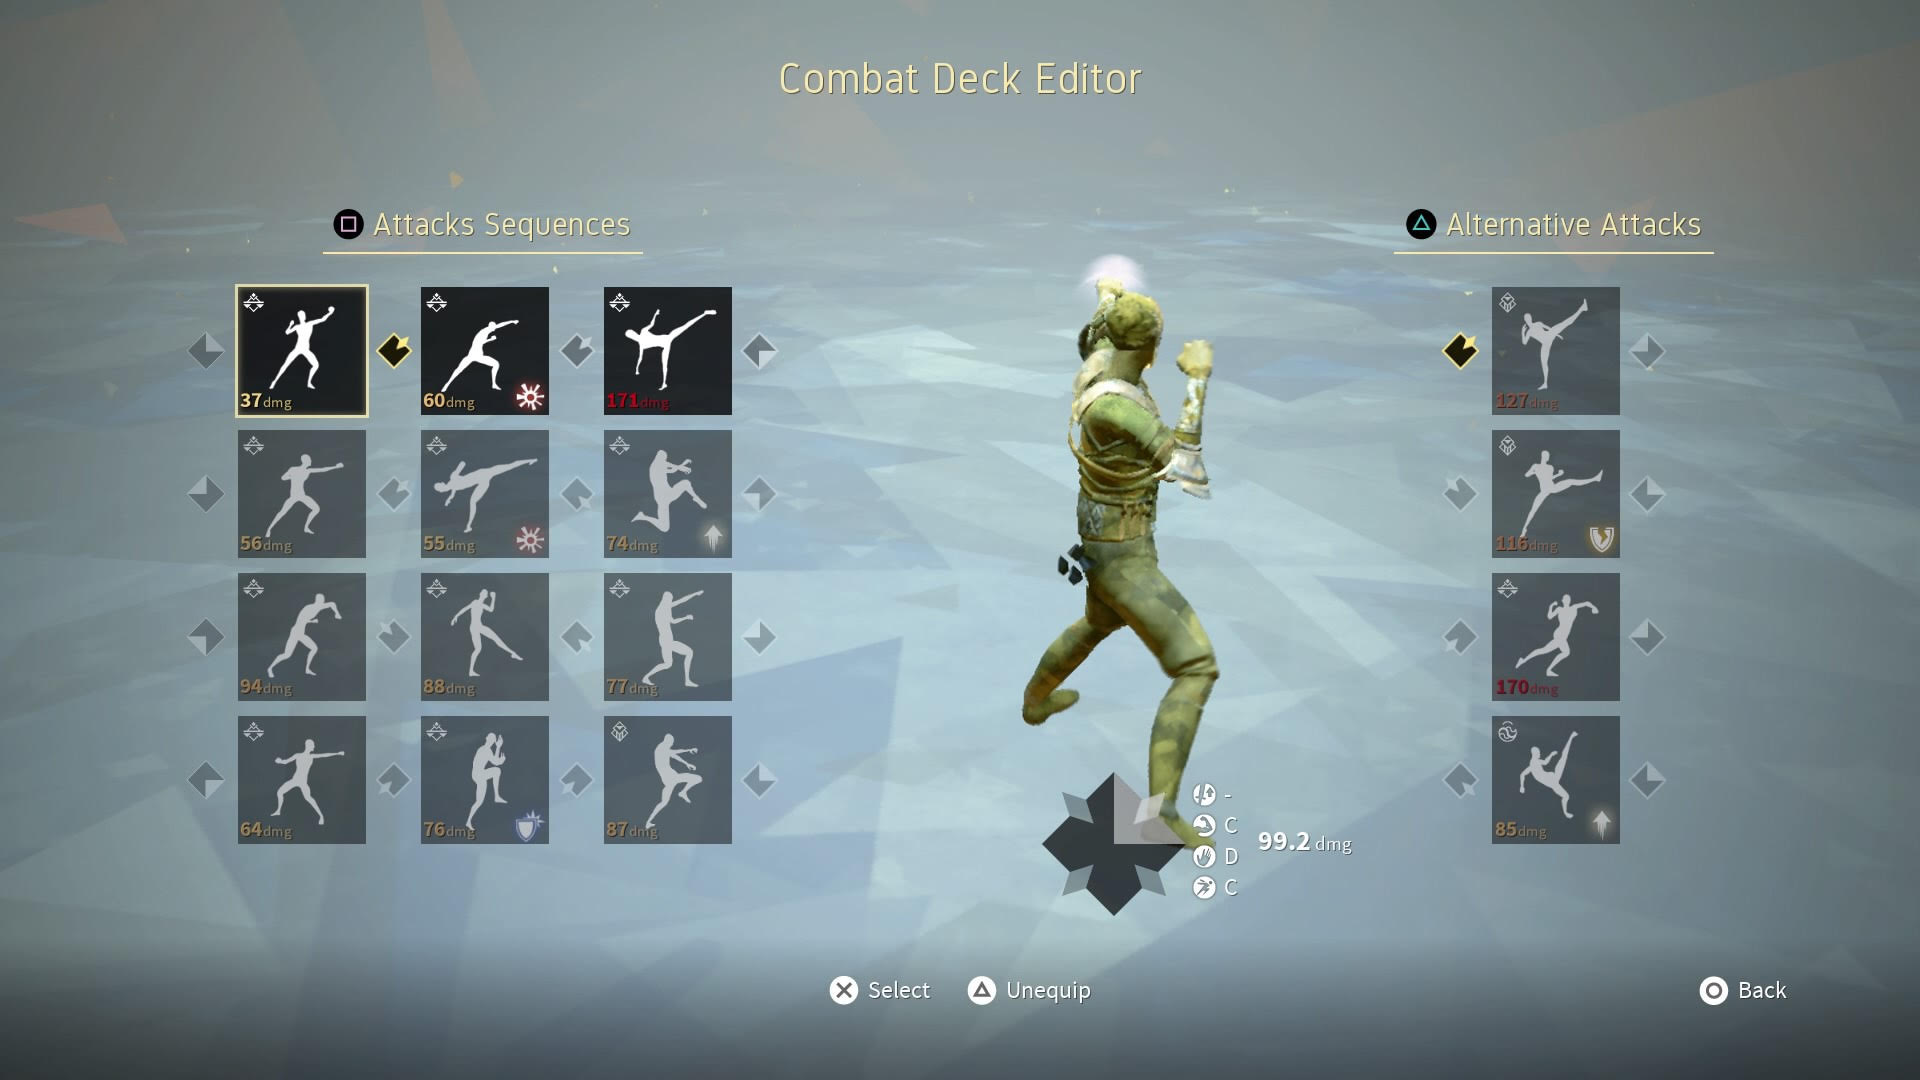
The techniques you have available to you are governed by your Combat Deck. Your Combat Deck contains the full list of your selected attacks, and is where you can customize your attack sequences, and select and assign alternative attacks.
Sequence strings can be up to three attacks long, and can be customized to take advantage of speed, power, and placement, creating combos with built-in mix-ups and positional confusion. Alternative attacks are one-shot strikes that are great to throw in between — or in the middle of — strings, to further throw the enemy off. Individual attacks take the form of several styles of punch and kick. Crucially, many attacks have properties outside of simply doing damage when they hit:
- Attacks with the broken shield icon are Breaking Attacks. They stop Charging Attacks, have heavy pushback when blocked, and can break the Kahlt’s absorb.
- Attacks that have a blue shield icon are Parrying Attacks, which can parry incoming blows when timed correctly.
- Attacks with the burst icon are Stopping Attacks. They stop charging attacks.
- Attacks with an arrow icon pointing right or left are Strafing Attacks. They can avoid thrusts and vertical attacks.
- Attacks with an arrow icon pointing up are Jumping Attacks. They can avoid low attacks.
- Attacks with an arrow pointing down are Ducking Attacks, which avoid high attacks.
Each individual attack has a scaling system a la Dark Souls gear. Everything does damage when you use it, but the key to doing the most damage most efficiently lies in equipping abilities based on what you do well. Ranked from E to S, an attack will be more effective if its Strength, Dexterity, and Mobility scaling score is taken into account.
When locked in combat, there are four different stances you can use, all which govern the type of alternative attacks and strings you unleash. Each move has a starting position and an ending position, so an attack that starts in the top-left section of the grid could put you in the bottom-right section after it finishes.
This means your next attack or string will be based on facing bottom-right. This is basically the crux of the whole combo system, and gaining an understanding of how your strings and alternatives can mesh into one another smoothly based on the way you’re facing is the difference between button mashing, and n00b stomping.
Learning new attacks is as easy as getting into a lot of fights. Whenever any enemy uses an attack on you that you defend against, you’ll earn some temporary move xp. If you win the fight, the temporary xp becomes permanent. When a move’s xp gauge is full, you’ve learned it.
Stamina
Stamina is a huge factor in how aggressive you can be in combat. Each individual attack costs stamina to throw. You’ll be refunded a small portion of it when you connect with a blow cleanly — but it still won’t last forever. Stamina is also important when guarding, as every strike against your guard removes a chunk. Run out while guarding, and you’ll be left defenseless for a few seconds while your opponent has their way with you.
Guarding right after throwing an attack will feint the attack. Instead of the move executing, you’ll see a shadow version of yourself launch the attack while you sit idly waiting for the next input. This is a super vital tool for controlling the pace of combat and confusing opponents. It’s great for baiting out defenses and countering, or skipping to a bigger move in your chain without the build-up.
Dodging lets you move a short distance very quickly. It’s a great way to find openings in enemy defenses, but you can’t block while dodging, so be careful with how you use it. Dodging is especially useful for getting out of tough situations involving multiple assailants. Don’t overdo it, though, as it costs a significant portion of stamina to execute.
Styles
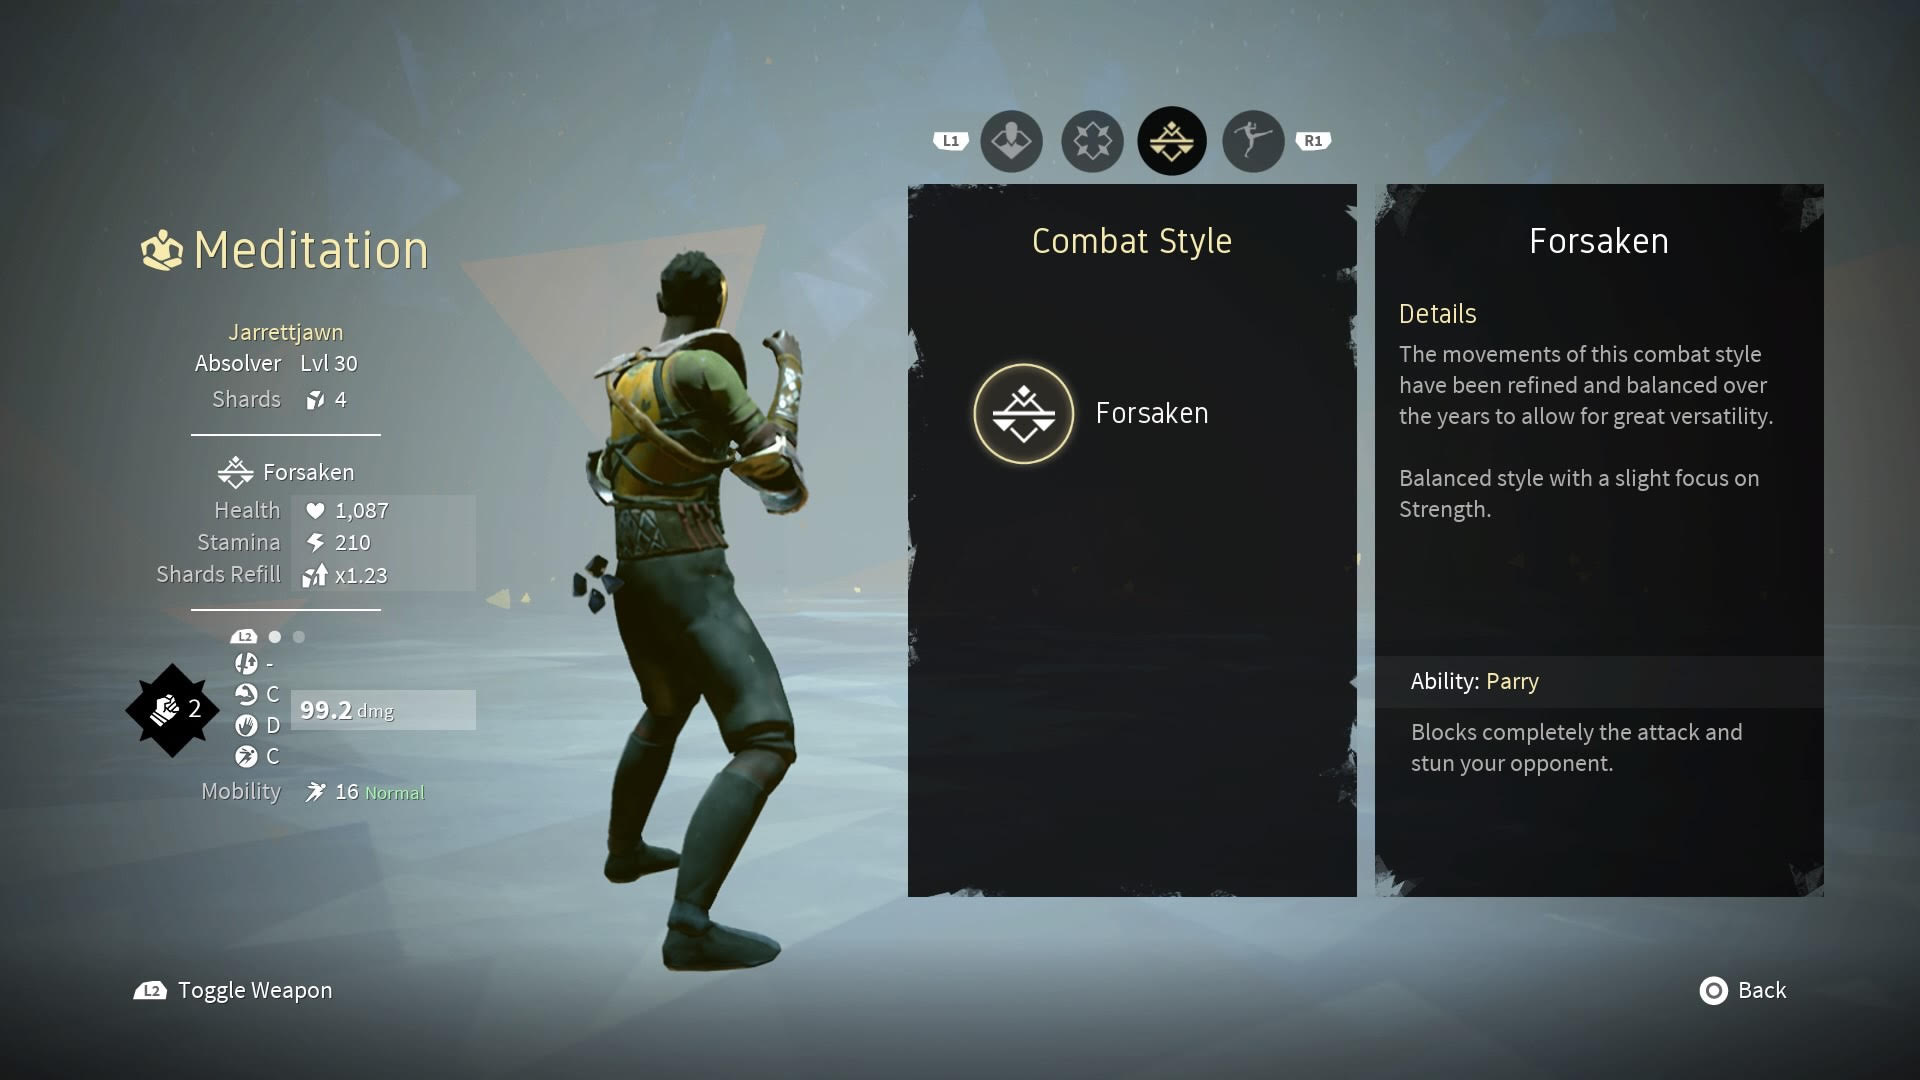
There are three starting styles of combat in Absolver, each with their own strengths and weaknesses. Styles not only determine your starting set of attacks, but also give you specific stat bonuses, and style-specific defensive abilities.
Windfall style is a free-flowing specialization based on speed and mobility. It has low damage output and stamina initially, but regains stamina faster than any other style. Its defensive ability is avoid, which allows you to steer clear of oncoming attacks quickly and efficiently by slowing them down a bit. Avoid works in four directions – up, down, left, and right, which allows defenders to duck under high attacks and skip over sweeps, as well as slip from side to side. Note that when dodging left and right, you may still be vulnerable to sweeping roundhouse kicks and big looping hooks.
Forsaken style is a balance of power and speed, which can be adapted to any given situation. Damage output is the highest, but stamina regeneration is poor. Its defensive ability is parry, allowing Forsaken practitioners to stop oncoming attackers in their tracks. Parry works in two directions, left and right, and when you catch at the right time, the action will screech to a halt for a second, giving you ample opportunity to exploit the opening. If you miss the parry, you’ll be exposed for swift and dramatic punishment. Parried moves provide more move xp than a straightforward block.
Kahlt style fighters are stoic and dramatic power strikers who are tailor-made to weather the storm of heavy offense. They are slow, but have high health and stamina, and can do considerable damage. Their defensive ability is absorb, a skill that allows them to take blows without being staggered by them. Without a need to match directional cues, Kahlt fighters flash blue and take the incoming hit as if it never happened. They still receive the damage, but they can regain the health lost by landing blows on the opponent. This absorptive shield can be bypassed with guard breaking techniques and abilities.
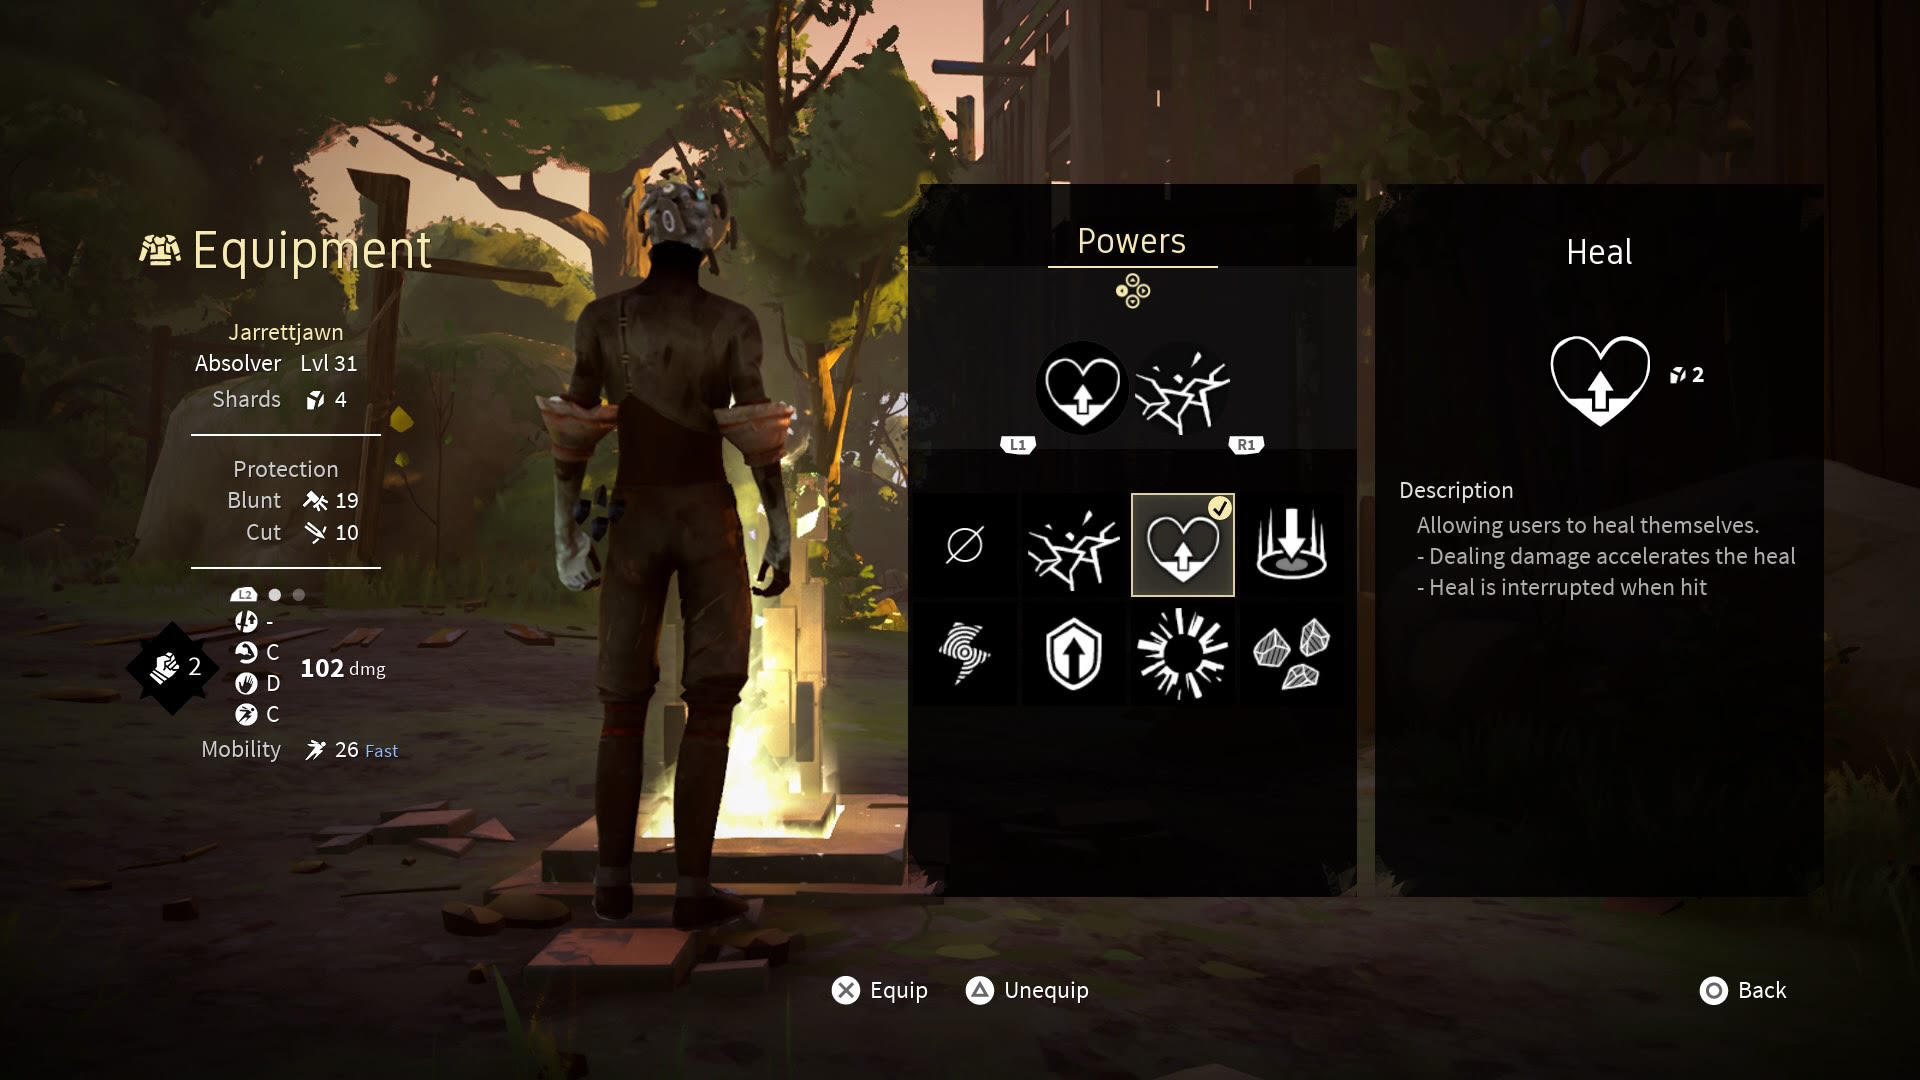
Powers
Outside of your various attack strings and alternative attacks, everyone can also learn powers. Powers can change the tide of battle using abilities beyond simply punching and kicking. They cost Tension Shards to cast, which are little golden points that float around your waist when you fight. Each technique costs different amounts of Tension, which can be gained in the heat of battle by attacking and blocking successfully.
- Shockwave lets loose a blast that ripples outwards, pushing enemies away, and regenerating some stamina. It costs 1 shard to cast.
- Earthquake stuns everyone within the area around the caster, while also granting them an absorptive shield similar to the Kahlt style fighter. It costs 2 shards.
- Heal grants the caster a small burst of health, as well as some regen. Every successful blow heals more life back, and the effect ends once you’re hit. It costs 2 shards.
- Gravity stuns your opponent, leaving them open for heavy damage. It also slows the enemy’s stamina regen for a while. It costs 2 shards.
- Exhaust makes enemy moves cost more stamina to perform. It costs 3 shards
- Shield grants a protective barrier around the caster that reduces how much damage and knockback is taken for a short time. It costs 3 shards.
- Silence stops enemies from using their tension shards in combat. It costs 3 shards.
Equipment
Something else you’ll be doing in Absolver only slightly less often than fighting is picking up gear. Weapons and armor are littered all around Adal, just waiting to be snatched up by a Prospect like you.
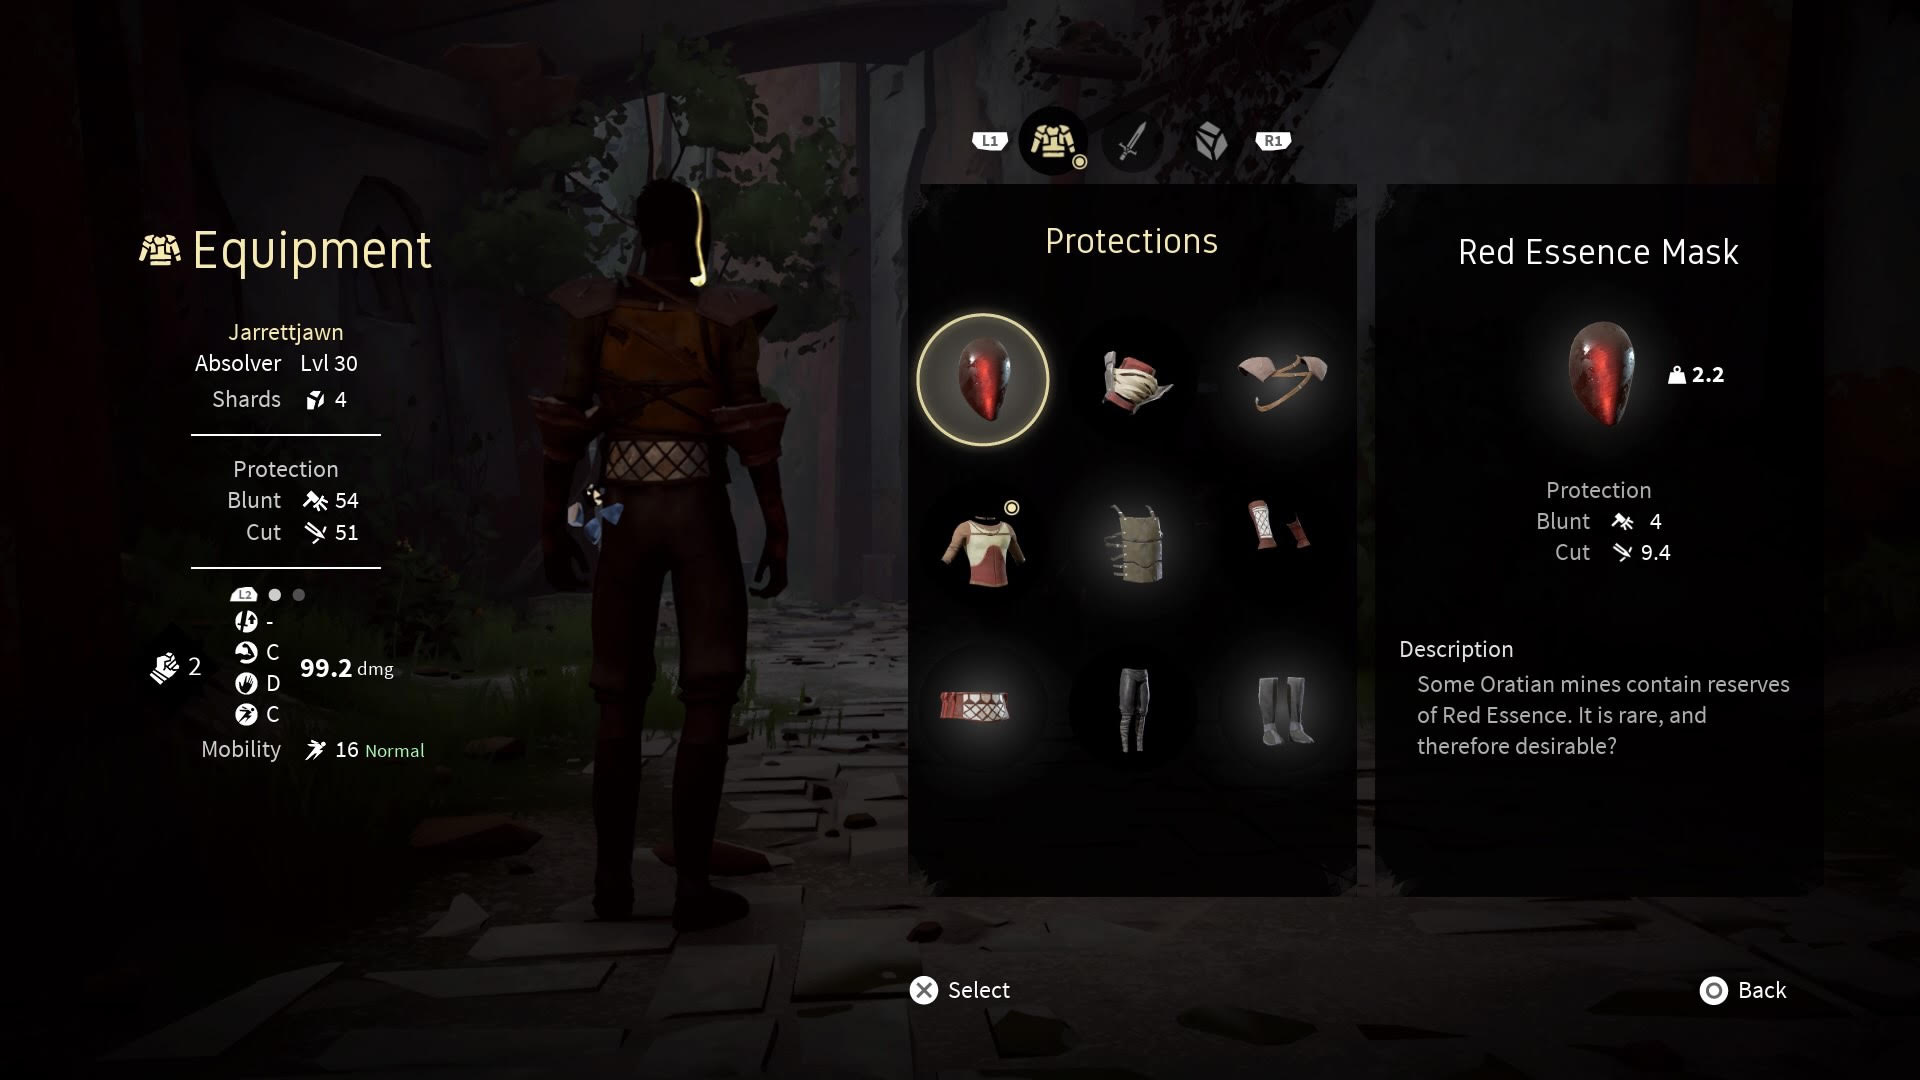
Protections
Most of the armor you’ll gain in your quest is picked up from fallen enemies. If a gold orb lays on the ground where the enemy’s body used to be, then interacting with it will grant you a piece of armor. Drops are randomized, so there’s no great way to get specific pieces without good, old-fashioned grinding.
Armor covers multiple different parts of the body, and besides being stylish, it offers protection against damage. Two different types, to be specific; blunt and cut. Blunt damage is the kind you’ll be taking from fist and feet. Cut damage is what you take from swords.
Tanking up and protecting yourself with high stat gear is a temptation, but consider this — all gear, from a mask to a pair of shoes, has weight. Weight affects mobility, which affects dodge speed and attack damage. The more you wear, the slower you are, and the softer you hit. Striking a balance between offense and defense is a considerable factor in winning and losing in Absolver.
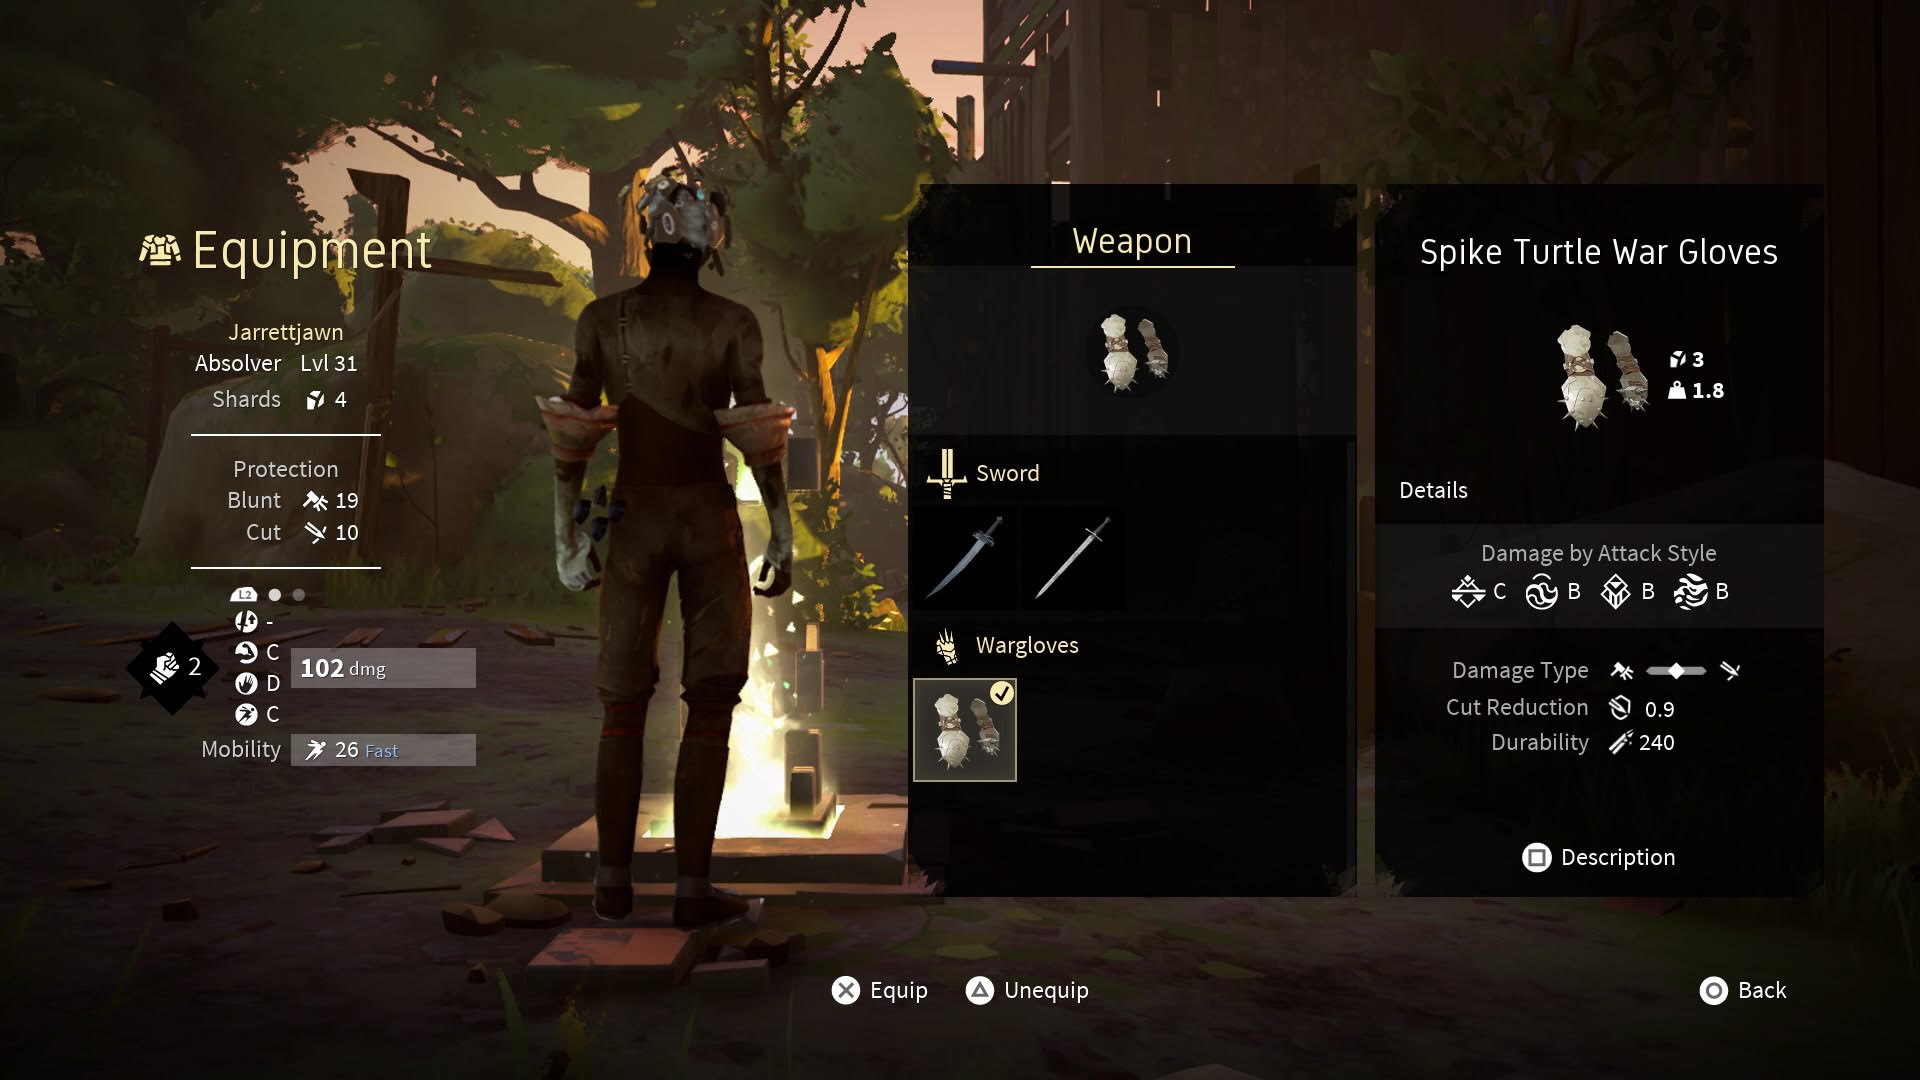
Weapons
There are two weapon types in Absolver, swords and war gloves. Both have their own individual uses, drawbacks, and strengths.
Swords do cut damage, and can chip through guards, meaning you’ll always take some form of damage from a sword if you don’t dodge it. Swords have their own moveset, so their strings and alternates are not the same as when you fight empty handed. You’ll eventually get a sword that belongs to you, but you can find swords and sword-like items hanging out in stumps or gravel piles across Adal.
War gloves mix blunt and cut damage together, but do less cut damage than a sword. They do help mitigate cut damage when defending against a sword while equipped, though. Also, your entire unarmed moveset is available when wearing them, and they have their own combat deck to customize. You unlock them early, and they can become a real staple in your offense.
All weapons can be disarmed after extended use. Found swords break over time, while your summoned weapons have a use limit before being put back on cooldown.
General Tips
When wandering Adal in search of glory, here are some things you should keep in mind.
- Only two people can join your game at a time. When traveling through different zones, the people you’ve encountered may be rotated out in favor of a new set of players.
- Even when not formally challenged to a duel, players can attack each other. Friendly fire is something to avoid, as repeated incidental hits to party mates will cause a fight to start.
- There is a hidden fourth fighting style, Swagger Style, that can be learned from a secret opponent who will spawn around the Tower of Adal after you reach a certain level.
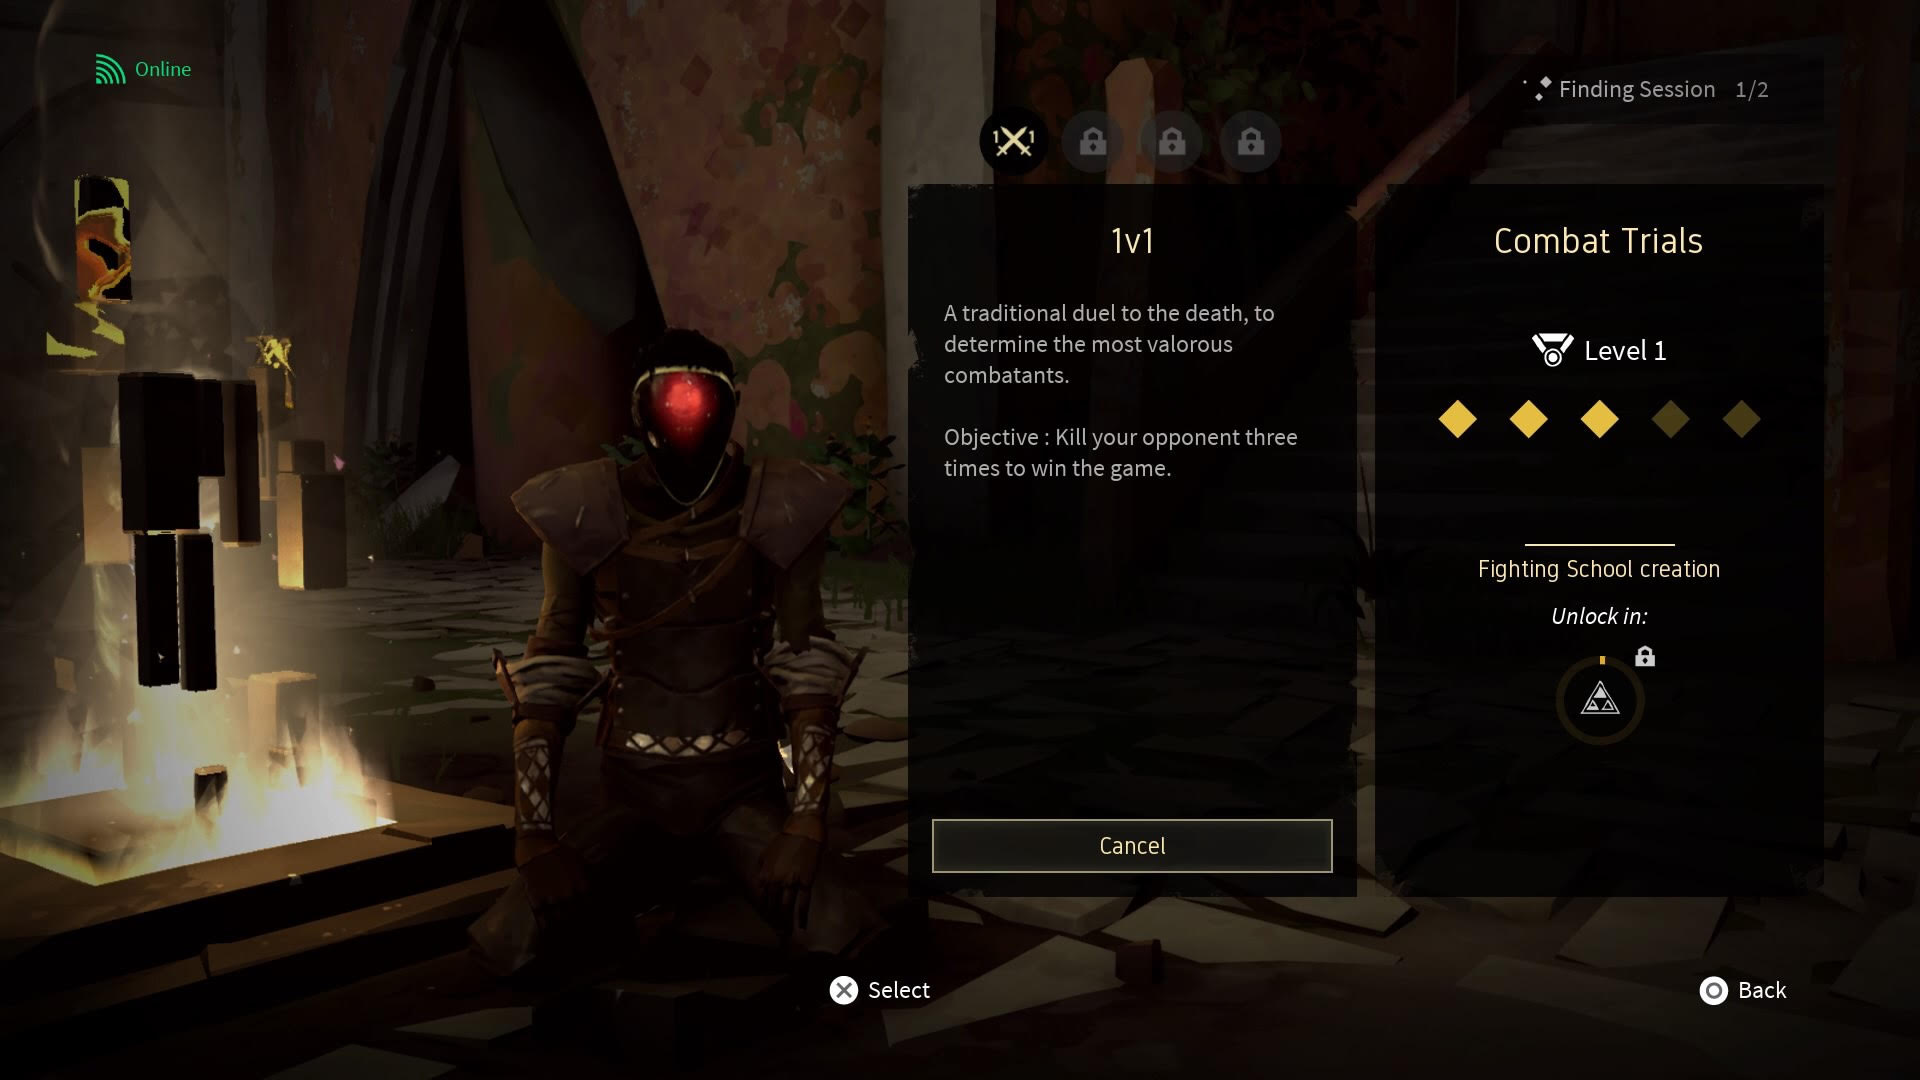
- Combat Trials are more than just 1v1 PVP duels, and will be a large part of the game after beating the Marked Ones. Leveling up in it gains you many rewards.
- That said, don’t rush into it. You will be lacking in techniques early on and it would greatly behoove you to run around and fight mobs as much as possible first to learn the ropes (and new moves).
- Flow is a system worth mastering. When you attack, a pair of arrows will appear on your stamina bar. If you attack in sync with the moving bar as it crosses those arrows, your next attack will launch faster. This can be chained back to back for as long as you have stamina to do so, sometimes called goldchaining.
If you need any more information, drop by our Absolver wiki!